Table of Contents
- Introduction
- 1. Identify Common Park Home Roof Problems
- 2. Visual Roof Inspection Checklist
- 3. Temporary Repairs and Precautions
- 4. Repair Options for Park Home Roofs
- 5. Insulation and Weatherproofing Improvements
- 6. Choosing a Roofing Professional
- FAQ
- Conclusion
Expert Insight
“Get multiple, itemized quotes from licensed contractors, verify insurance and credentials, and ask for clear timelines and warranty details to ensure you’re comparing like-for-like and making an informed choice for your park home roof.” , Industry Expert
Introduction
What this guide covers
This beginner guide to roof repair for park homes provides a practical overview you can act on. You’ll find common problems, a visual inspection checklist, safe temporary fixes, and solid options for repairs and upgrades. The aim is to offer reliable, practical steps you can take yourself or plan for with your maintenance provider.
We cover roof inspections, gutters and downpipes maintenance, and exterior roof components as part of overall park home care. The guidance aligns with how 1st Choice Park Homes Ltd approaches maintenance, refurbishment, and long term protection for park homes across England and Wales.
Why roof maintenance matters for park homes
Your roof is the first line of defence against weather and damp. Regular roof maintenance helps protect the structure, reduce energy loss, and safeguard exterior walls and cladding. For park homes, a well maintained roof supports the chassis, prevents rust and water intrusion, and extends the life of windows and doors.
Timely attention to roof health also keeps maintenance costs predictable. Small, early fixes prevent larger, more disruptive repairs later. We emphasise proactive care, using proper materials, and seeking professional input when needed to maintain quality and reliability across your park home’s lifecycle.
Practical steps you can take this season
Begin with a 15-minute visual check after strong weather. Look for loose tiles, lifted flashing, or clogged gutters. If you spot debris or moss, remove it carefully with a plastic scraper to avoid damaging surfaces.
Install a basic gutter guard or clear 2 times per year to prevent overflow. Ensure downpipes drain away from the chassis and check for rust around brackets. For temporary fixes, use waterproof sealant on minor gaps and cover exposed areas with a breathable tarp until a pro can assess.
Common pitfalls to avoid
Avoid delaying repairs for cosmetic reasons. Minor leaks can quickly become structural issues if left unaddressed. Do not mix repair products from different brands; incompatible compounds can trap moisture. Always verify that any DIY fix complies with your park home’s warranty terms and local regulations.
1. Identify Common Park Home Roof Problems
Missing or damaged tiles and slates
Lightweight roofing materials on park homes can loosen over time. From ground level, look for displaced, cracked, or missing tiles. Gaps let rain in and moss take hold, which can affect weatherproofing and the exterior walls.
- Note tiles that are bent or uneven
- Check for exposed underfelt after rain
- Prioritise roofing refurbishments to maintain weatherproofing and curb appeal
Moss, lichen and debris buildup
Moss and organic growth retain moisture and can lift tiles as they thicken. Debris in gutters and downpipes slows drainage and increases water pooling, threatening protection for the roof and chassis.
- Clean moss without damaging tiles or roof fabric
- Remove leaves and twigs from gutters and edge linings
- Consider protective coatings or treatments for long-term control
Leaks and water staining
Water marks on ceilings or walls can indicate hidden roof leaks. Tracing the source early helps limit interior damage and damp issues affecting exterior walls and cladding.
- Look for staining along ceiling joints after rainfall
- Check around joints, flashings, and chimney areas even if tiles look intact
- Document suspected leak paths for professional assessment
Condensation and damp indicators
Condensation in the roof space signals ventilation or insulation gaps. Persistent damp affects exterior walls and cladding over time, reducing energy efficiency and comfort.
- Notice musty smells or damp patches on interior walls
- Monitor roof void ventilation and attic space if accessible
- Plan targeted improvements to reduce humidity buildup
2. Visual Roof Inspection Checklist
How to safely assess from ground level
From ground level, perform a quick visual scan for obvious roof issues without climbing a ladder. Stay on solid ground and use binoculars if needed. Look for displaced tiles, curling edges, or gaps along the ridge that could let rain in.
Note patterns of wear that repeat across the roof. Weather exposure and tree debris can show where attention is needed most. Record dates and conditions to track changes over time and help with roof inspections and future repairs.
Gutters and downpipes examination
Blocked gutters and downpipes are a common source of water damage. Check for visible clogs, sagging sections, and staining at joints. Ensure outlets discharge away from the house and foundation to protect the roof and exterior walls.
- Remove loose leaves and small debris from gutters
- Flush downpipes to confirm clear flow
- Inspect connections for cracks or leaks
Roof edge and fascia checks
Inspect edging and fascias for corrosion, rot, or paint failure. Look for signs of moisture behind the edge lining, such as soft wood or peeling paint. Damaged edges can allow water intrusion under the roof line and impact exterior wall maintenance.
- Test for firm attachment and no wobble
- Check for rust spots on metal fascias
- Watch for loose or dislodged verge caps
Noting wear for professional input
Document areas showing wear that require expert assessment. Focus on sections with moss growth, signs of damp, or suspicious dips along the roof surface. Prepare clear photos and notes to share with a roofing professional.
- Identify repeating trouble spots across bays
- Record any safety concerns or access issues
- List suspected penetration points such as vents or chimneys
3. Temporary Repairs and Precautions
Tarping and temporary fixes for leaks
When a leak appears, a temporary cover helps limit interior damage while you plan a permanent repair. Use a waterproof tarp secured with weight or rope to deter wind lift. Avoid sharp edges that could tear the material.
- Place tarp over the affected area with excess material fed under surrounding tiles or edges
- Secure with battens or weights, not just rope clips
- Check regularly after strong winds or heavy rain
Real world scenario: a caravan roof develops a blistering seam after a heavy shower. A tarp can cover the seam within an hour, buying time to source a repair kit or replacement panel.
Safety precautions for DIY assessment
Assessing roof health from ground level reduces fall risk. Use a stable ladder on level ground and have a helper nearby. Wear non-slip footwear and eye protection when removing debris or inspecting edge details.
- Keep three points of contact when climbing
- Avoid working in wet or windy conditions
- Do not lean over edges or attempt to move heavy components
inspect after each storm using a flashlight to catch hairline leaks around joints. Document findings with photos for references when you contact a pro.
When to avoid DIY and call a professional
Some signs require expert intervention to prevent further damage. If you notice pervasive soft timbers, persistent leaks, or structural movement, seek professional input promptly.
- Sagging roof sections or trapped moisture in the chassis
- Discovered roof penetrations with significant water ingress
- Uncertainty about material compatibility or safety risks
Tip from 1st Choice Park Homes Ltd: schedule a winter readiness check. A pro can spot hidden corrosion or moisture traps that DIY eyes miss, preventing costly repairs later.
4. Repair Options for Park Home Roofs
Tile repair and replacement strategies
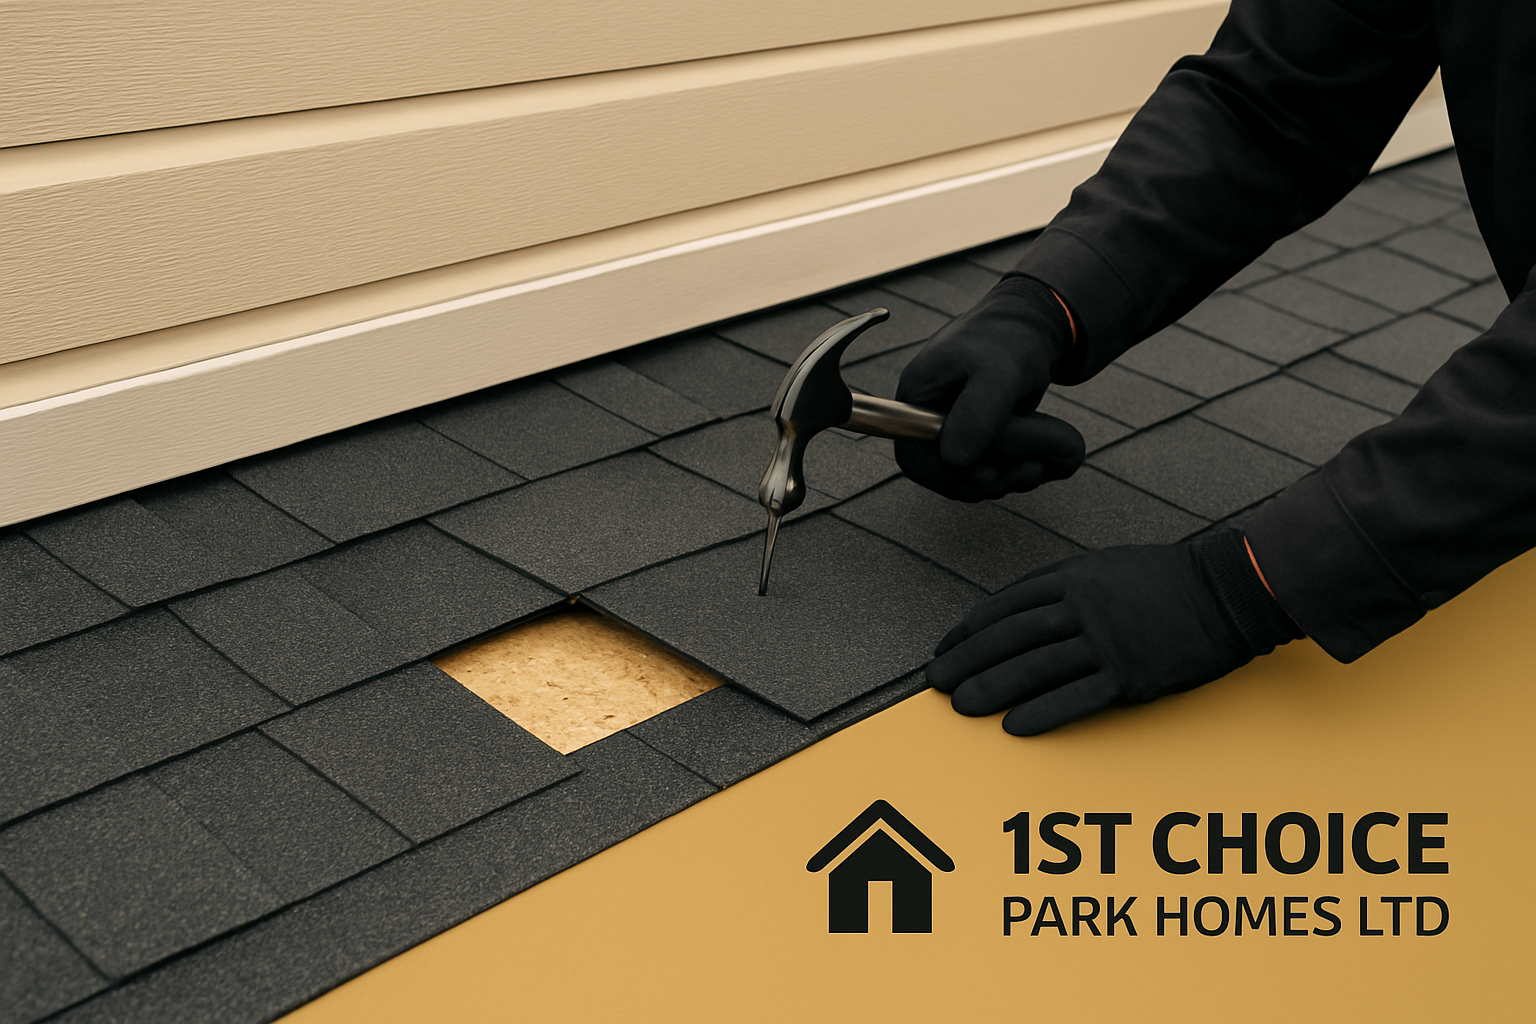
Repairing individual tiles or slates can stop small leaks and extend the roof’s life. When replacing, match weight, profile, and color to preserve aesthetics and curb appeal.
- Replace broken or missing tiles promptly to prevent water intrusion and damp inside your park home.
- Use compatible mortar and fixings designed for lightweight roofs to maintain structural integrity.
- Inspect surrounding tiles for potential movement after repairs to avoid recurring leaks.
Roof overlay versus full replacement considerations
A roof overlay adds a new layer over the existing surface. It can be quicker and less disruptive but may not suit every situation.
- Overlay suits limited damage and a solid underlying structure, helping maintain insulation performance.
- Full replacement offers long term reliability and seamless protection, especially where the chassis or ventilation have been compromised.
- Factor insulation, ventilation, and weight implications into the decision to protect energy efficiency and overall comfort.
Rubber membrane and lightweight tile solutions
Rubber membranes and lightweight tiles deliver weatherproofing with minimal load on the chassis. They are popular for park homes seeking durable protection and easy maintenance.
- Rubber membranes provide seamless watertightness and easy access for maintenance.
- Lightweight tiles reduce weight while maintaining performance and protecting exterior walls.
- Both options require professional installation to ensure seals and edges are correct and long lasting.
Coatings and sealants for extended lifespan
Protective coatings seal joints and extend roof life when applied correctly. Coatings can improve weather resistance and delay costly repairs.
- Apply compatible roof coatings to flat or curved surfaces as directed to preserve exterior walls and cladding materials.
- Seal flashing joints and penetrations to prevent slow leaks and moisture ingress.
- Schedule reapplication according to climate and wear to maintain a robust defence against the elements.
5. Insulation and Weatherproofing Improvements
Upgrading roof insulation for energy efficiency
Improved insulation reduces heat loss and keeps park homes comfortable year round. Start with accessible areas and select materials that suit lightweight roofs and the chassis design. Look for options such as high performance batt or compressed board that fit within the roof structure.
- Choose insulation with an appropriate R-value that works with park homes and preserves ventilation.
- Avoid compressing insulation in loft or attic spaces to maintain effective airflow.
- Check moisture barriers during upgrade to prevent damp backflow and support lasting warmth.
Practical steps you can take this season include measuring available cavity height, selecting modules that fit exactly, and confirming compatibility with your park home’s chassis. For example, if the roof cavity is 150 mm high, consider slimline batt products rated for 120-140 mm with reliable thermal resistance. Partnering with 1st Choice Park Homes Ltd can help you source certified options that meet lightweight roof requirements.
Data note: installers report a 15-25% reduction in heat loss when upgrading to high performance boards in similar lightweight roof systems. Some types require wind uplift considerations in exposed sites, so verify fastening and edge details.
Sealing penetrations and flashing upgrades
Every penetration point is a potential leak. Proper sealing keeps wind driven rain out and preserves airtight performance around vents, chimneys, and plumbing.
- Inspect vent pipes, chimneys, and plumbing penetrations for gaps or deteriorating seals.
- Upgrade flashings where edges meet walls, skylights, or roof joints to prevent water ingress.
- Use sealants compatible with lightweight roofs that tolerate temperature changes without cracking.
Tip: replace coarse joint tape with a flexible, durable sealant at corners and around skylight perimeters. In windy parks, add a secondary bead of sealant for extra resilience. Ensure flashing color and material do not compromise thermal performance.
Ventilation improvements to prevent condensation
Good ventilation reduces condensation, protecting walls, insulation, and overall comfort. Review roof vents and soffit intakes for blockages or inefficiency. Install controllable attic or roof space vents to balance airflow as needed. Pair ventilation with moisture tolerant insulation to maintain healthy indoor air quality.
- Check existing roof vents and soffit intakes for blockages or inefficiency.
- Install controllable attic or roof space vents to balance airflow as needed.
- Combine ventilation upgrades with moisture tolerant insulation to maintain indoor air quality.
Note: in climates with high humidity, consider continuous soffit ventilation and a small dehumidifier in the utility area during initial seasons. 1st Choice Park Homes Ltd can advise on compliant vent sizing for your model.
6. Choosing a Roofing Professional
What to look for in a park home roof specialist
Choose a contractor with direct park home experience and familiarity with lightweight roofing systems. Prioritise safety practices and installations that minimise disruption to you and your home.
- Specialization in park homes and chassis friendly solutions
- Evidence of compliant health and safety procedures
- Clear portfolio of previous roof repairs, overlays, and coatings
Questions to ask and warranties to verify
Ask targeted questions to confirm suitability and reliability. Warranties protect your investment and support long term maintenance.
- What materials do you recommend for my roof type and why?
- What warranties cover labour, materials, and workmanship?
- How do you handle leak repairs and follow up service if issues recur?
How to compare quotes and timelines
Evaluate proposals beyond price. Consider scope, scheduling, and aftercare commitments to gauge value.
- Breakdown of materials, labour, and any permit fees
- Projected start date, duration, and contingencies for weather
- Clear milestones for inspections and final handover
FAQ
How do I know if my roof needs replacing vs repairing?
Start with a ground level and interior check. Look for persistent leaks, widespread sagging, or multiple failed patches. Localized issues usually get repaired, while extensive damage or structural concerns call for replacement. Consider the roof’s age and how it has performed in recent severe weather.
How long does a typical park home roof repair take?
Most minor repairs finish in a day, depending on access and weather. More complex fixes or several troubled areas may require a second day. Include safety checks and any site permit requirements in the timeline.
What maintenance should I perform after a repair?
After a repair, follow a regular routine to protect the roof and chassis. Key tasks include cleaning gutters and downpipes, inspecting seals around penetrations, and watching for moss or algae growth. Schedule a follow up inspection after the next couple of heavy seasons to catch early wear signs.
- Keep gutters and downpipes clear to prevent water pooling
- Check exterior walls and cladding for signs of water ingress
- Review ventilation and insulation to reduce condensation
Conclusion
Key takeaways and next steps
Regular visual checks and timely inspections are essential to catch issues early and avoid major roof repairs later. Prioritise safety and defer risky tasks to a qualified professional when needed.
Address gutters, downpipes and edge flashing to prevent water ingress that can affect the chassis and exterior walls. Base repair choices on the extent of wear and maintain protective coatings to extend roof life.
Proactive maintenance schedule for park homes
- Quarterly: perform a ground level roof overview and clear visible debris from gutters
- Biannually: inspect roof edge details, fascia boards and penetrations for gaps or rust
- Annually: have a professional roof inspection to assess sealants, flashings and insulation performance
- After severe weather: recheck for displaced tiles or new leaks and act promptly
- Seasonal sweeps: test ventilation and moisture barriers to control condensation